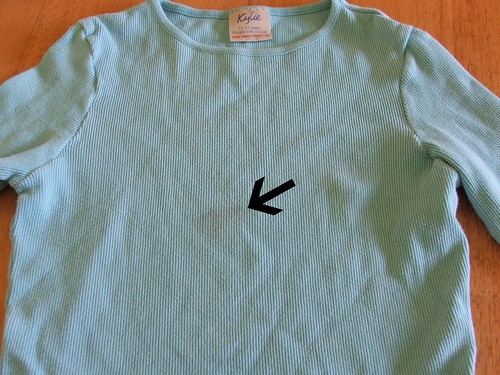
Here's a run-down of how to make your own recycled rug! First of all, collect together all your old cast-offs. I used this one as a sample as it had a glaring stain in the middle; however, when I took the photo the stain miraculously disappeared!! Just so you don't think I'm mad I've added an arrow to show where the stain is. (Actually that in itself is probably a bit mad. Ah well.)
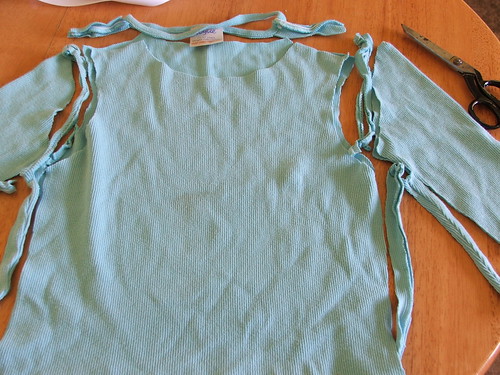
1. Ok so the first thing to do is to remove the seams. Lay the fabric out flat in a single layer; don't worry about squaring up the edges.
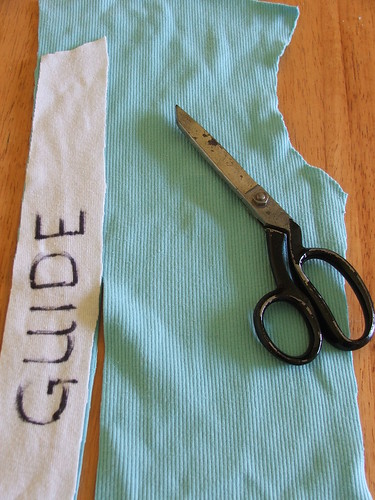
2. Using a guide, cut the material into strips. I made my guide from another t-shirt and wrote on it so I wouldn't lose it! My guide is 2 inches (5cm) wide, and being made of material it clings to the fabric nicely meaning I don't need to pin it on.
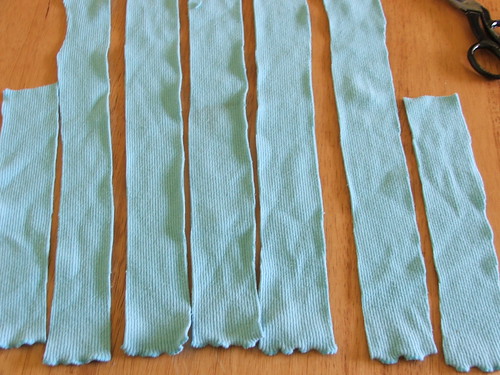
3. Voila - lots of strips of fabric! Carry on with the rest of your t-shirts until you have a nice satisfying pile to run your fingers through. I started off with a carrier bag full and though I cut them all up I still have quite a few left; however I got a good mix of colours that way.
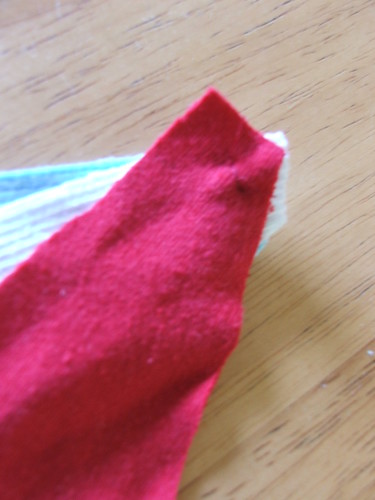
4. For your starting strips, cut a triangular shape out of each piece. Make sure each strip is a different length (I will explain why in a moment).

5. Put a stitch through the end to hold them together.
6. Using a weight to hold the ends down, begin to plait your strips. You might find it easier to get a willing slave to hold it for you. However I had no slaves when I took this photo so I nicked my daughter's paperweight. Make sure you plait your strips quite tightly together, but not so tightly that they start to buckle.
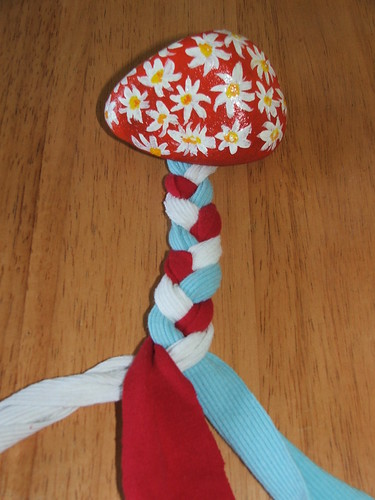
7. When you have plaited to the end of your first strip, pick up the next strip and plait it in. Wrap the new strip round the end of the old one, with about an inch overlap (a little more if you are nervous). This is where having different length strips comes in; that way, you don't have lots of joins in the same place!

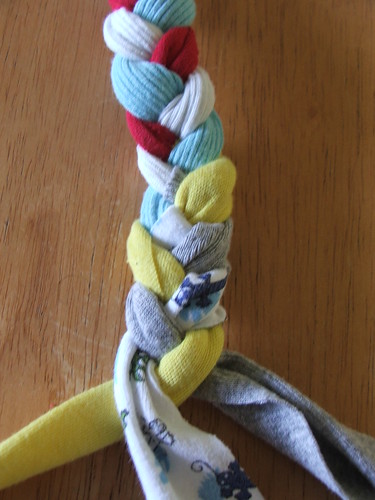
8. Continue adding in new strips as you run out, until you get bored/have none left/want to start sewing it together. You can add more strips later if you like, or you can make one long plait then do all the sewing in one go.
9. To begin the sewing, attach the thread to the back of the plait then, with the front uppermost, coil the end around itself with the ends tucked underneath.

10. Flip the coil over and secure it with some small stitches.
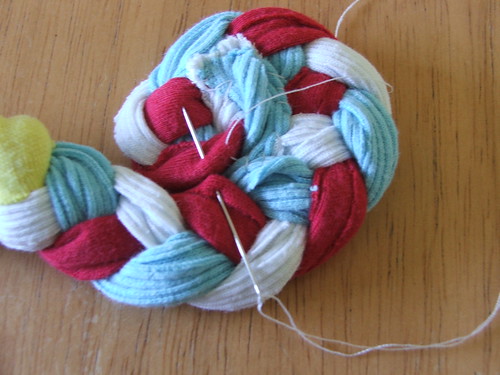
11. Continue to coil the plait around itself and sew together on the back. At this point it is easiest to continue with the rug back uppermost. It's vital to keep the rug flat whilst working so that it will lie flat when finished (if you make it on your knee then it will be full of lumps and bumps!), so it's best to do the sewing up on a table.

12. Here's a close-up of the back of another piece so you can see the stitching. This is going to be a plaited bowl, so rather than working on a table, I'm coiling this one round a mixing bowl to make the shape.
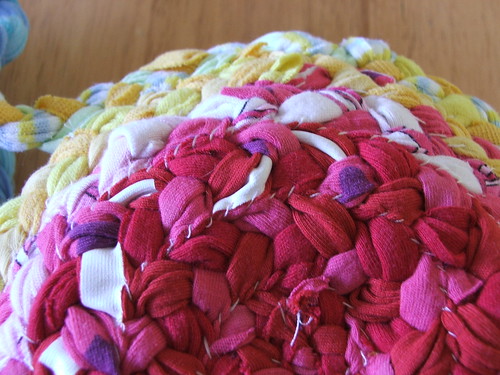
13. Here's the right side of the bowl (I'm experimenting with mixing similar shades here!
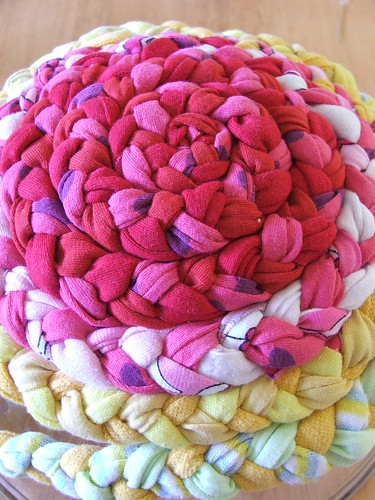
14. And there you have it. When you are satisfied that your rug is the right size for you, then add a backing fabric to cover up the stitching (can't show you a photo of that bit because I haven't done it yet!). Use a good quality hessian for the backing and it should help your rug last well.
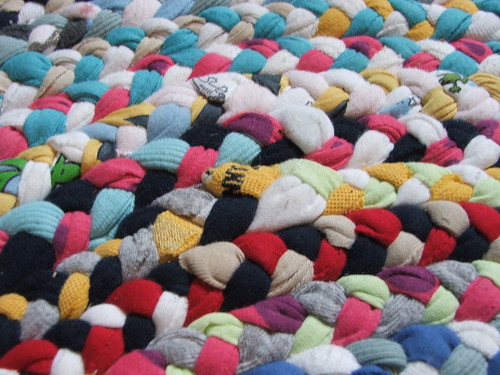
15. And finally ... admire your handiwork!!
love tute, I bookmaked one the other day for a couple of diffrent rag rugs, apparently old sheets are very good for making them. the finished rug looks lovely, and I may try to make one one of these days... honest I will!
ReplyDeleteBlimey - that is fantastic!
ReplyDeleteThanks for putting up the instructions! Have been looking for a use for t-shirts that even the charity shop wouldn't thank me for, and this looks perfect. Am resisting the urge to buy more t-shirts from the charity shop so I have enough to start a rug right now...
ReplyDeleteBrilliant!! I am gonna dig around the old clothes that I can't get rid of on ebay and have a go!
ReplyDeleteMy boyfriend's crotch has teeth and I've been saving his old pants for 3 years now. I will use denim to make one of these for our daughter to roll around on =D
ReplyDelete